Building a Whiskey Barrel Rocker.
So you want to build one for yourself, free plans are right here!
To start, I removed the excess charcoal from the insides of all the staves. This can be done with a sander and some 60 grit or a wire wheel. After that, I gave the outside of each piece a once over with 120 grit sandpaper. I didn’t want to go too aggressive sanding as I didn’t want to take away from the look of the pieces. White oak is very dense, but splinters happen and they can be pretty brutal. Pieces I knew would be in contact with skin, or had the chance to be rubbed against, were gone over twice, particularly the edges of the front or outer parts of the staves. After, the fronts and backs were given two coats of spar urethane as an extra layer of protection for both the chair and the person using it. Once it was finally assembled, any cut ends were also sanded, rounded and coated with spar urethane again to seal them.
The first thing you need to keep in mind is, not all barrel staves are the same. In reality, none of them are ever the same. They’re different widths, have different bends and different shapes. It will take approximately 30 of these to get a rocking chair done, which is roughly the number of staves in a barrel itself. It’s best to start with the ones that give the most shape or function to the chair itself, my starting point is the rocker runners. You’ll need to find a pair that have roughly the same amount of curve to them so it rocks evenly, or at evenly as possible. This is not going to rock like a normal rocking chair, the barrels serve a function, and at no time did the Cooper who made the barrel think, “these need to be curved right so the person who takes it apart to make a chair is happy.” As you can see from the below, I’ve laid a number of staves out to show the different curve to them, the runner will have to be wide to support the chair, but I have doubled up runners previously with success.
Different widths, curves and shapes throughout.
The next pieces that need a complimentary arch are the seat and back legs which hold the seat up. While you’re probably going to drive yourself crazy trying to find 8 or so staves that have the exact same curve so your seat is smooth. Please don’t bother. You can have considerable movement in here and not feel it. Even though the below looks like they all have similar curves, once mounted onto the back legs you can see the difference. The back legs should also have a roughly similar curve to them, much like the runner, they give a majority of the shape to the chair and the seat.
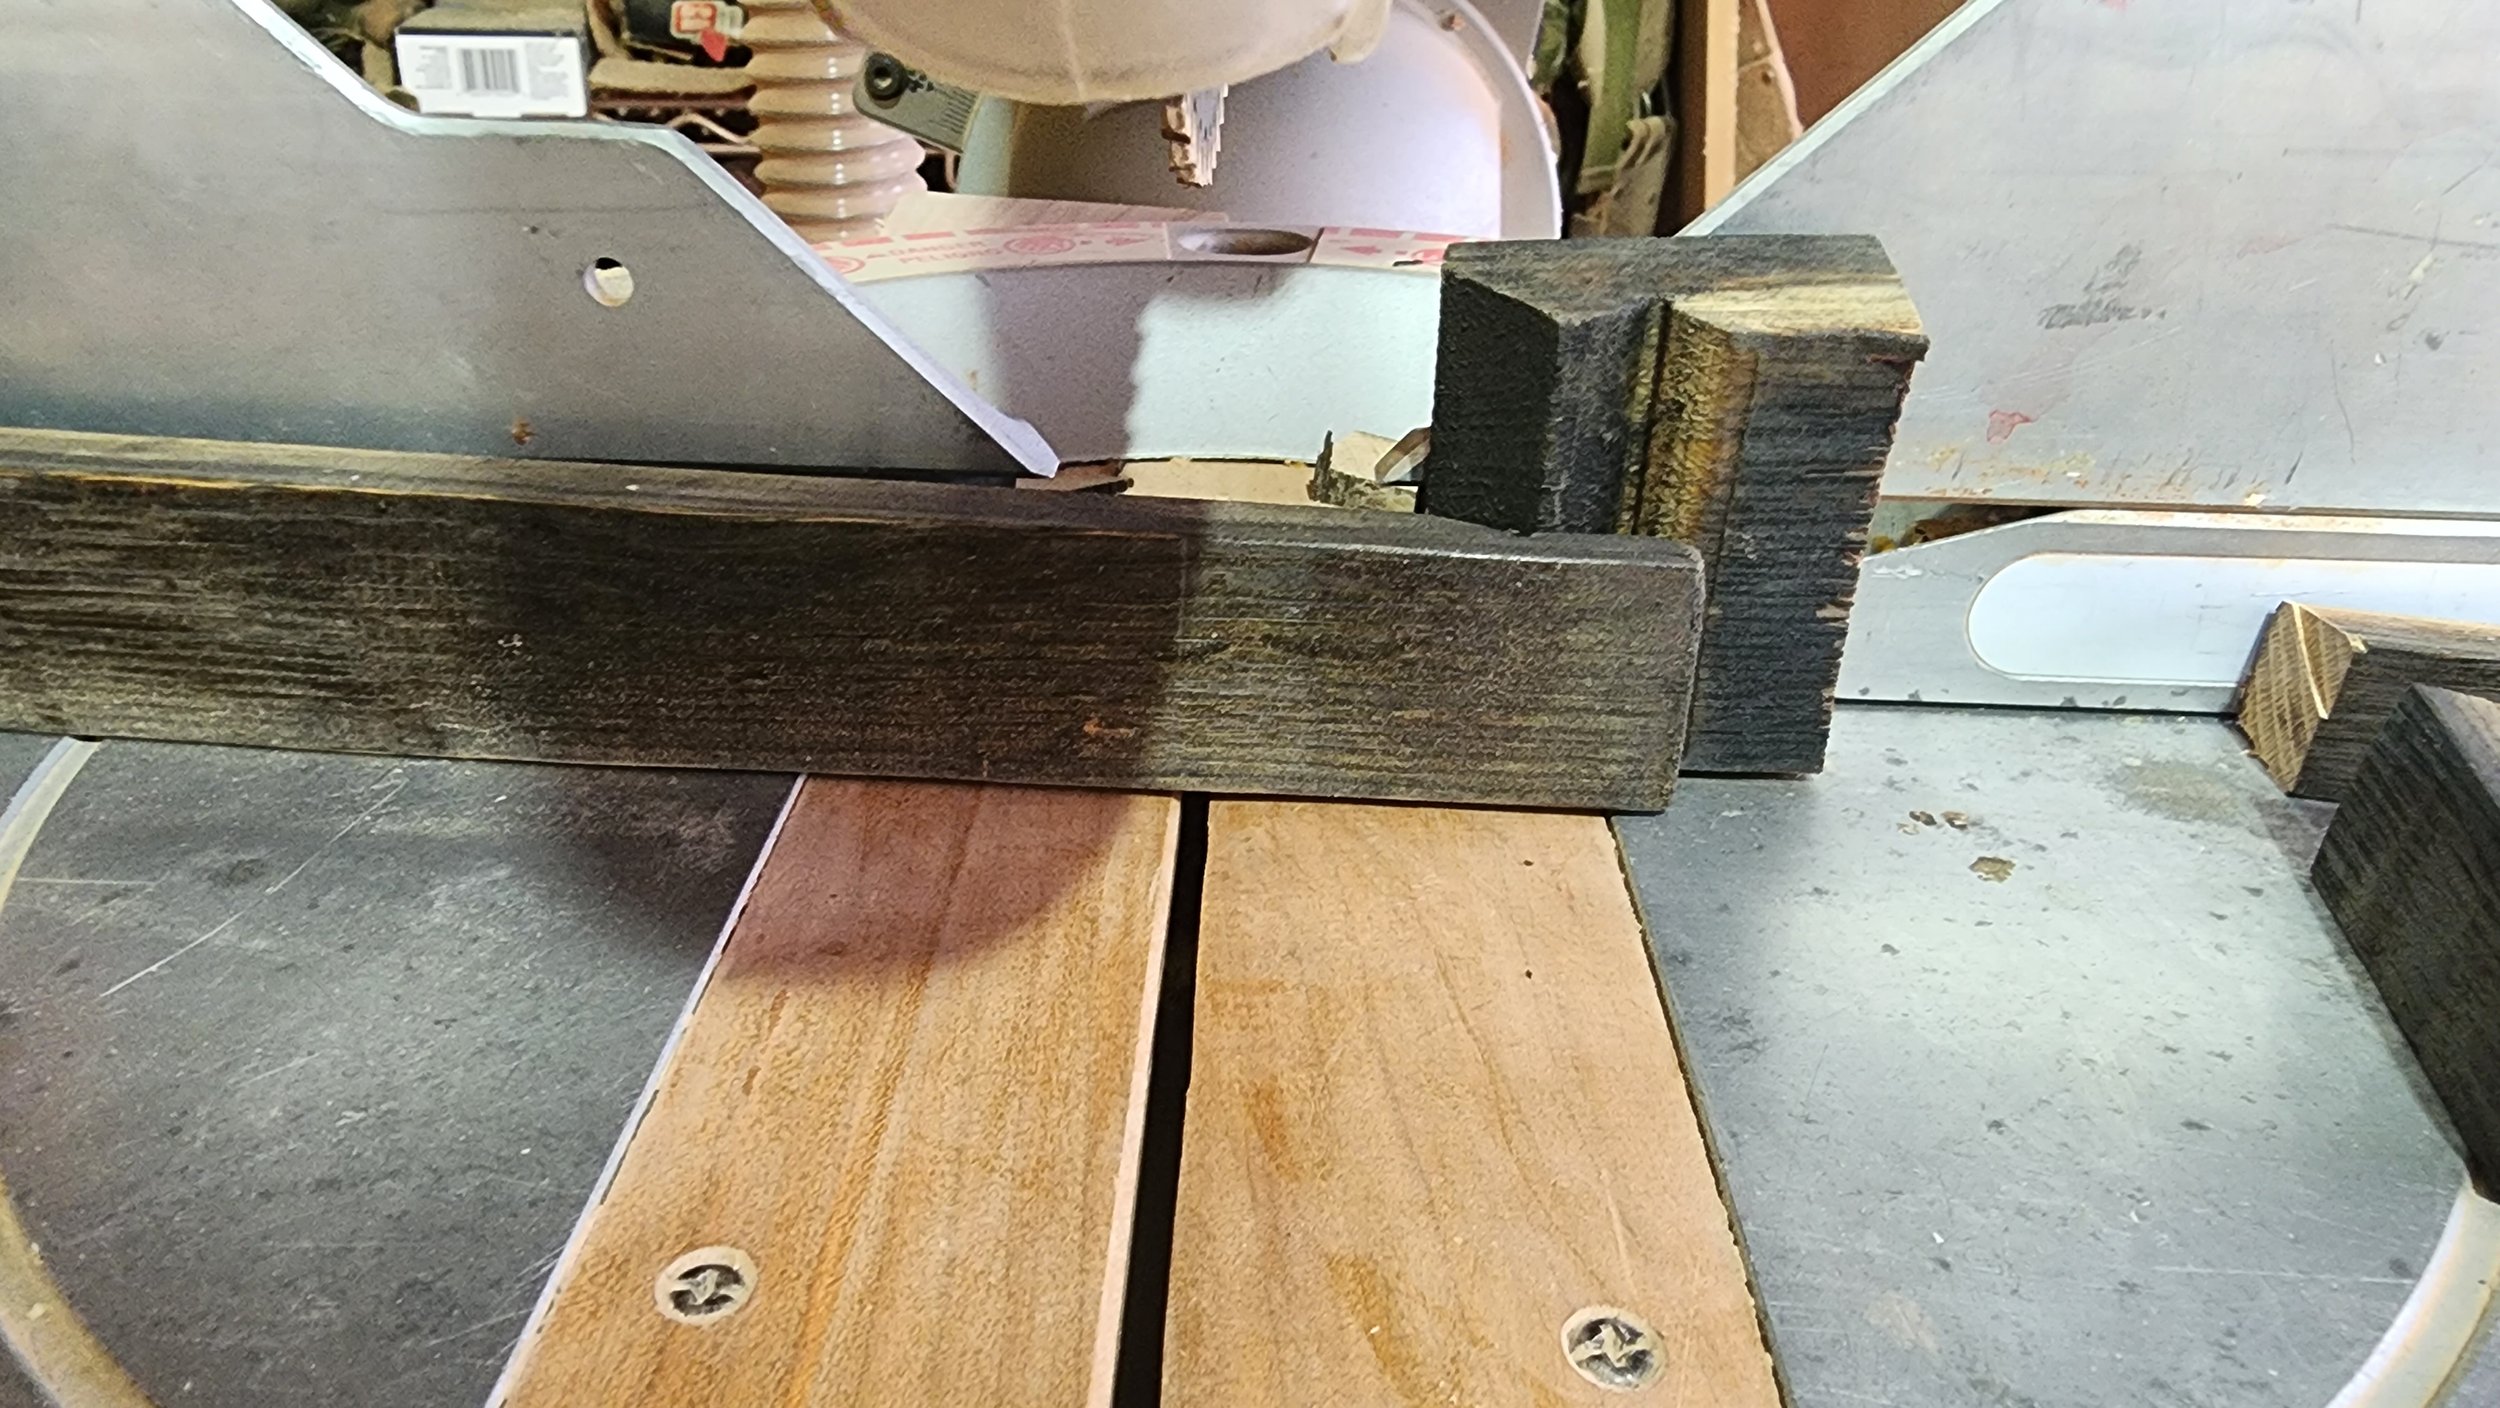
The seat slats are cut at 28 inches and the seat depth is 17 inches from front to back. The seat will need to be cut on both ends to keep the shape consistent. Here’s where things get tricky. Whiskey staves are typically 35 inches in length, are wider in the middle than the ends, and are set to curve. One trick I use is to place a piece of the barrel against the chop saw fence to allow for part of the curve.
Cut the back legs to 33 inches, these should be wide but not wider than the runners. The cut end will go toward the front of the seat and will be hidden by the front legs. Again, cut them using the trick above I showed you with the seat slats.
Things will get frustrating here. You are mounting rounded wooden pieces to rounded wooden pieces and trying to make and keep them all square. Yeah, good times! I squared the seat ends to the best of my ability holding the framing square along the front of my work table and keeping the front of the lead piece against it.
As you can see, the bottoms of these are not flush in spite of my best efforts. (oh well)
From there, clamp the back legs and measure the insides of the legs both front and back. With each chair, because the width of each stave is usually different, the number is different. In this case it was 23 inches. Remember, you’ve cut a few inches off the end of the back leg, so the measurement from the uncut end needs to be a few inches up from the end. Will it be perfect? NOPE! But it will be as close to square as you can get and that’s what matters.
Clamps and predrilled holes are your friend here!
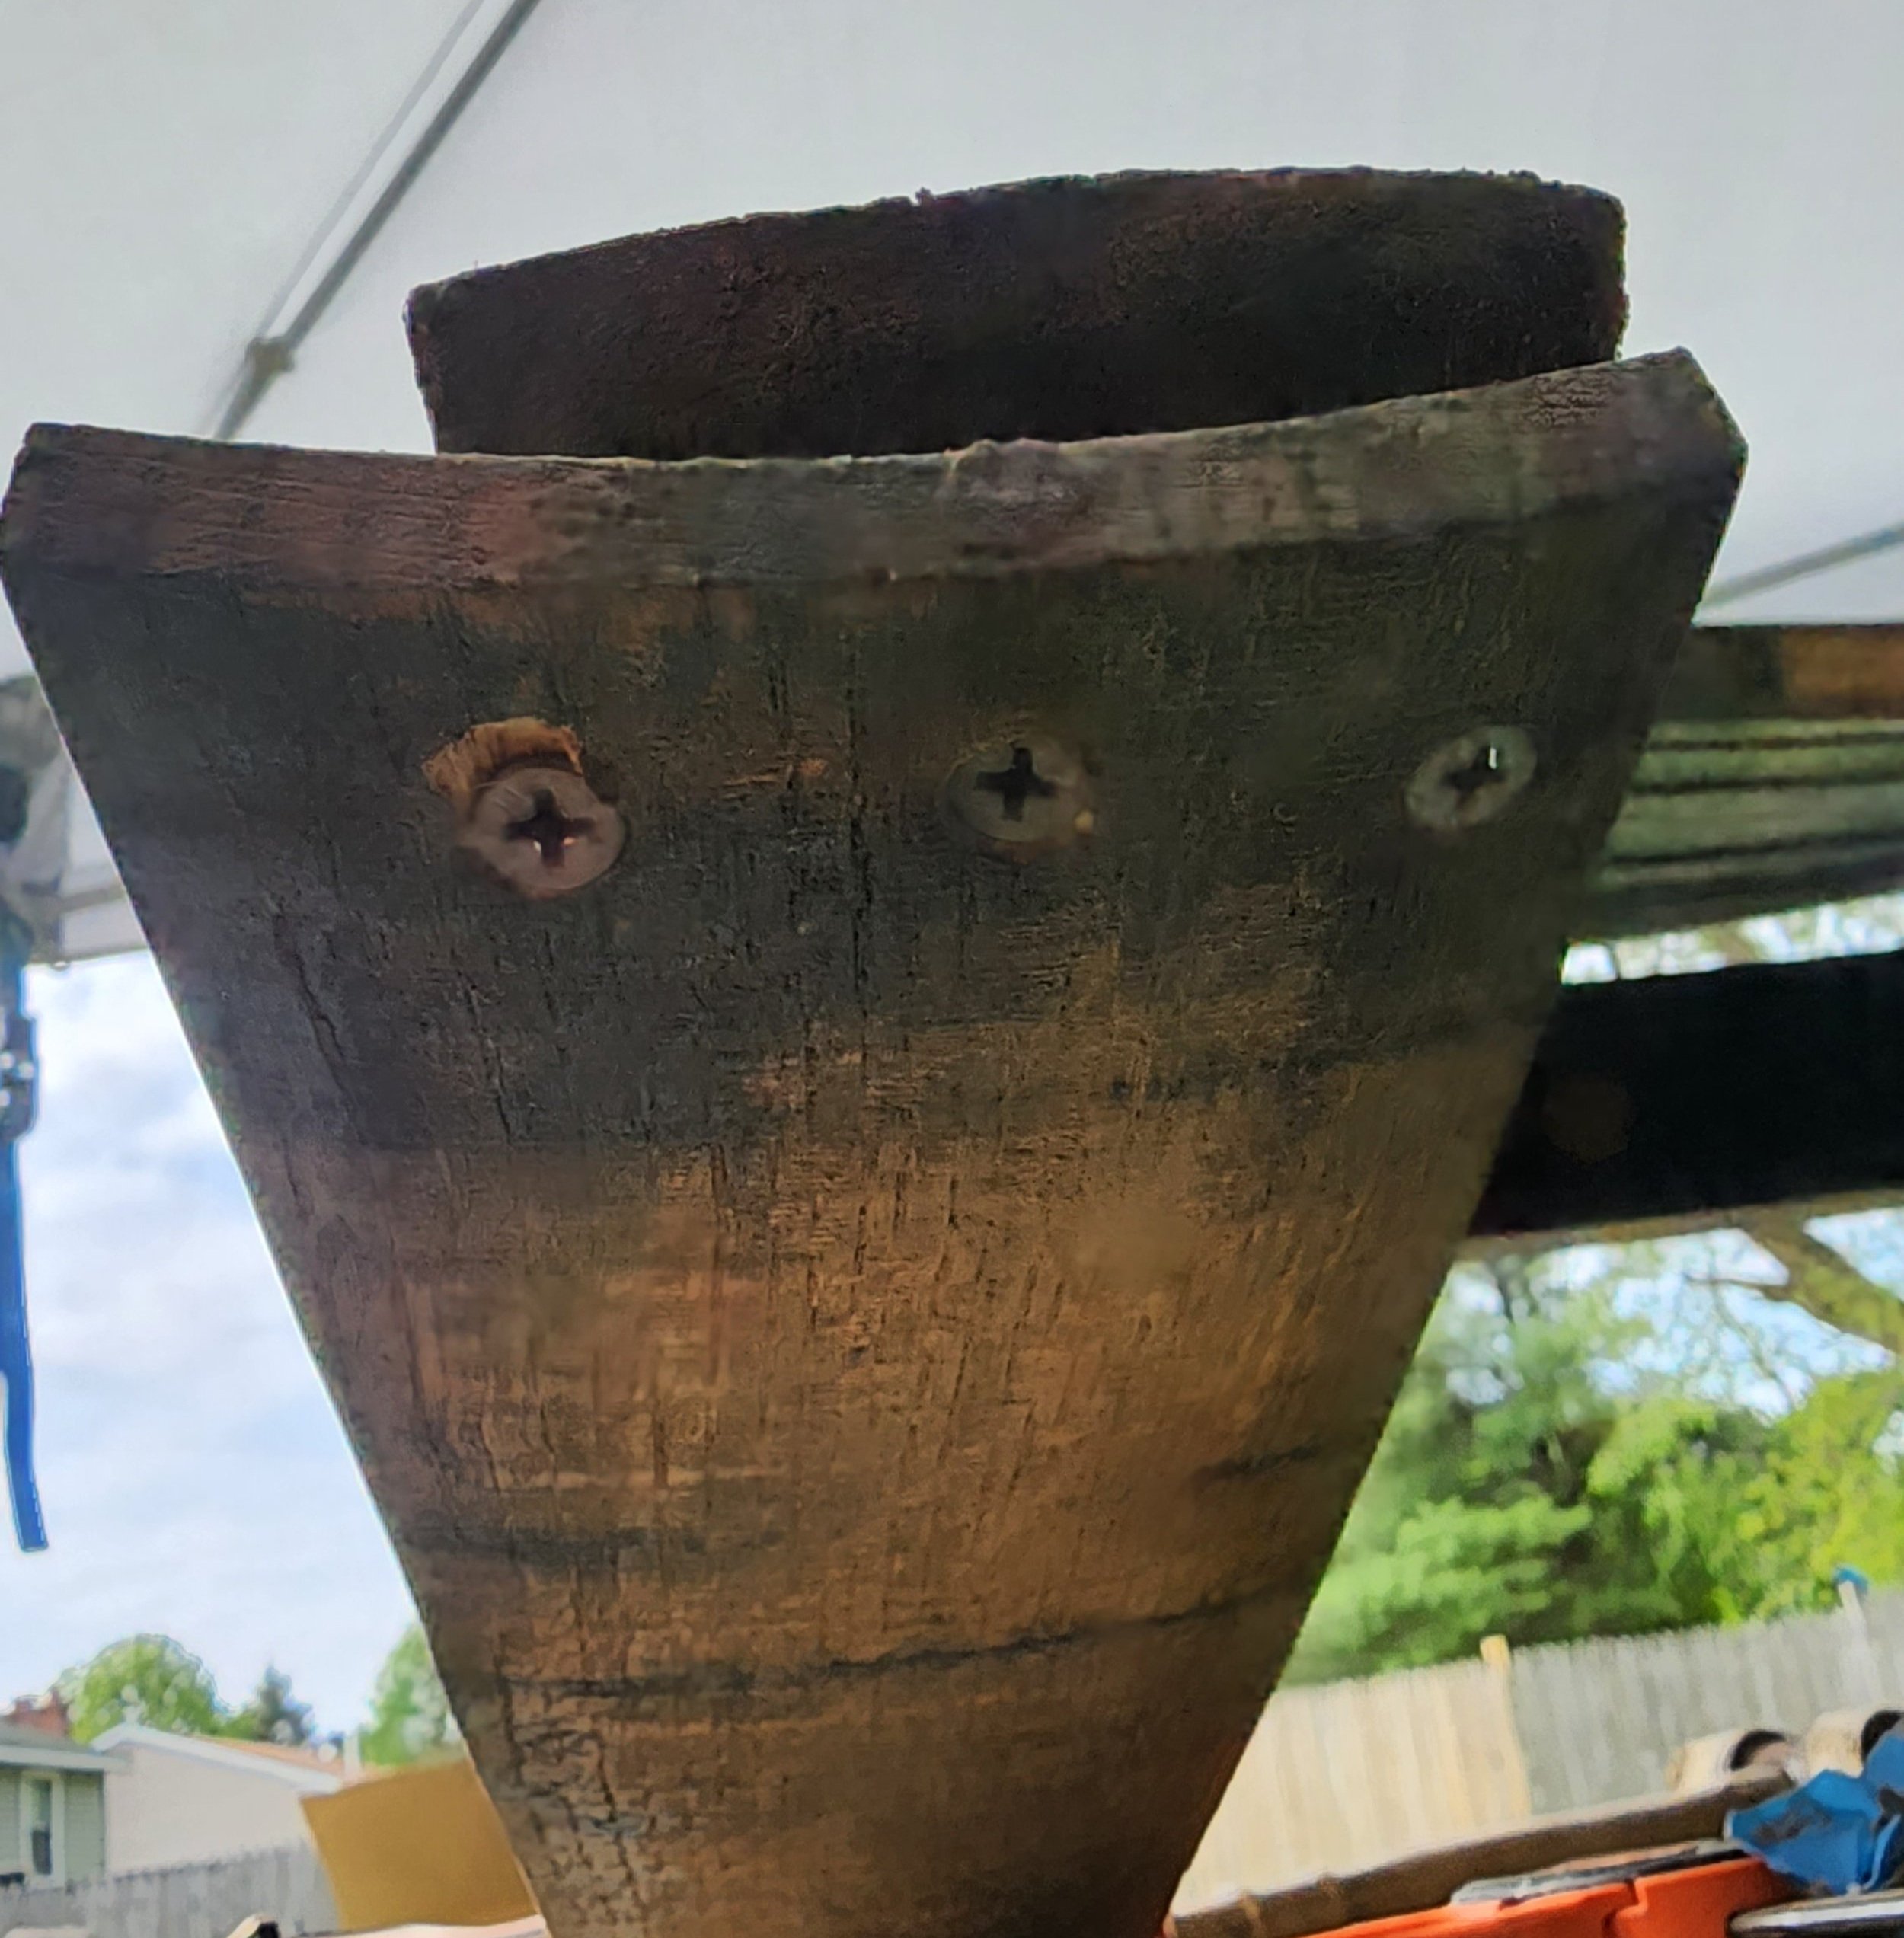
Secure the front slat with one screw on either side, then do the same for the back. This gives you a chance to double check everything before you drilling out and screwing in the rest. Keep in mind, this is quartersawn white oak, it’s dense and will split easily if you don’t predrill everything. That, and be prepared to break a drill bit or two along the way. Whiskey (to include Irish, bourbon, Scotch, rye and the rest) is aged for years, there’s a reason they use this wood to do it! Two screws per side per slat will keep them in place, make sure to use galvanized screws as well, you’ll want them to last as long as the lumber does! Once your seat is built, you’re ready to start making the chair look like a chair. Cut the two front legs at 23 inches as shown below.
Pick boards with a healthy curve for the back legs too. The front legs and arms can have less of a curve.
Next, cut the bung hole on either end to 28 inches to match the seat insuring that the hole is centered between the legs. Measure the front legs 13 inches up and mount the bung hole stave from behind with four screws on each side. Measure two inches from the front of each runner, and drill out a countersunk hole on the outside of where each leg will sit. Predrill the hole into the front leg and mount one screw into the outside part of each leg. Sorry for the lack of pictures here, but I was busy holding this together. You’ll add another screw later, but only after you get the back legs resting on the runner and the front portion onto the bung hole stave. There’s a lot going on here so take your time.
You can see even more movement in the seat slats here.
The ends of the barrel have a notch where the barrel heads were held. Use this notch for your back leg to rest on the runner, this will take the pressure off the screws you put in as they’ll only keep the wood in place rather than support the entire piece and the person sitting in it.
Make sure to check the angle as you drill so your screw doesn’t miss the back leg or blow out the top.
With the back legs secured in place, countersink two holes through the front legs, and predrill two holes to secure the front legs to the back legs. Now, you can also drill out two more holes through the runner to the front legs. This will secure the base of the seat, which now allows you to work on the backrest. Clamp an uncut stave to the back legs behind the seat, use a couple pieces on the ends to make sure they’re far back enough to fit the entire backrest. Measure and mark the center of this board between the inside of the legs. Measure and mark a second, choose a thin one for this, to go at the top to hold the backrest together. Find a wide stave to use as the center measure and mark the center of that one four inches up at the top and bottom. Predrill and secure the stave with the thin piece you just measured then mount it to the bottom piece you have clamped in place.
The best thing is, you don’t even need to erase the pencil here. Who’s going to see it?
The easiest way to tell if you have the middle of the backrest square is to hold a 3 foot level against it, keeping the level in line with the pencil marks. I’ll use another stave that I’m not using for the chair to hole the backrest up as I put it together as shown below.
Just keep an eye on this, it will fall on your head if you’re not paying attention.
From here it’s all about symmetry. Like I said before, rarely are staves the same width or have the same curve, so put them together as best you can be based on the width. A quarter inch here and there won’t be much of an issue visually, so don’t obsess over it. I line the next stave up at the top, clamp it in place, then secure it with screws on the top and bottom doubling up screws on each piece whenever possible.
Space the staves close at the top and evenly space them as best you can along the bottom. If you have a few really thin pieces laying around, mix them in between the thicker ones for a bit of visual contrast.
None of these are the same size, but they compliment each other enough that you don’t really notice it.
With the back complete, rest the two staves you’ve selected to use as the arms on top of the front legs and clamp another stave across the back approximately 12 ¼ inches up from the bottom stave. Keep in mind, these are all different widths, so it may only be 12 depending on the size of the stave you have at the bottom of your backrest. Here I used a framing square to determine the angle of the backrest using the longest part of the square for the vertical part of the seat. This way it touched the backrest at the bottom and top of the square, giving it a comfortable angle to work from. I also countersunk the holes in the front of the arms, letting the arm extend 4 to 4 1/2 inches beyond the front leg as you can see in the completed pictures.
With the screws in place it’s time to get rid of the excess. I use a pull saw to cut the staves flush and in line with the barrel piece it’s joined to as shown below. You can also choose to counter sink and plug these screws as I did with the ones in the front. I didn’t in the case of this chair as they are far less noticeable than the ones in the front.
The cut ends of the seat slats, and backrest supports were then sanded again as well as the tops of the front legs if they stuck out beyond the arms. After, another coat of spar urethane was added. For the plugs on the front, I deliberately cut the plugs short to make sure the outside part of the plug was visible rather than the fresh white oak underneath. I felt it would blend better that way, I also tried to use dark plugs if I was placing them in a dark piece so they would blend better too. Good luck!


